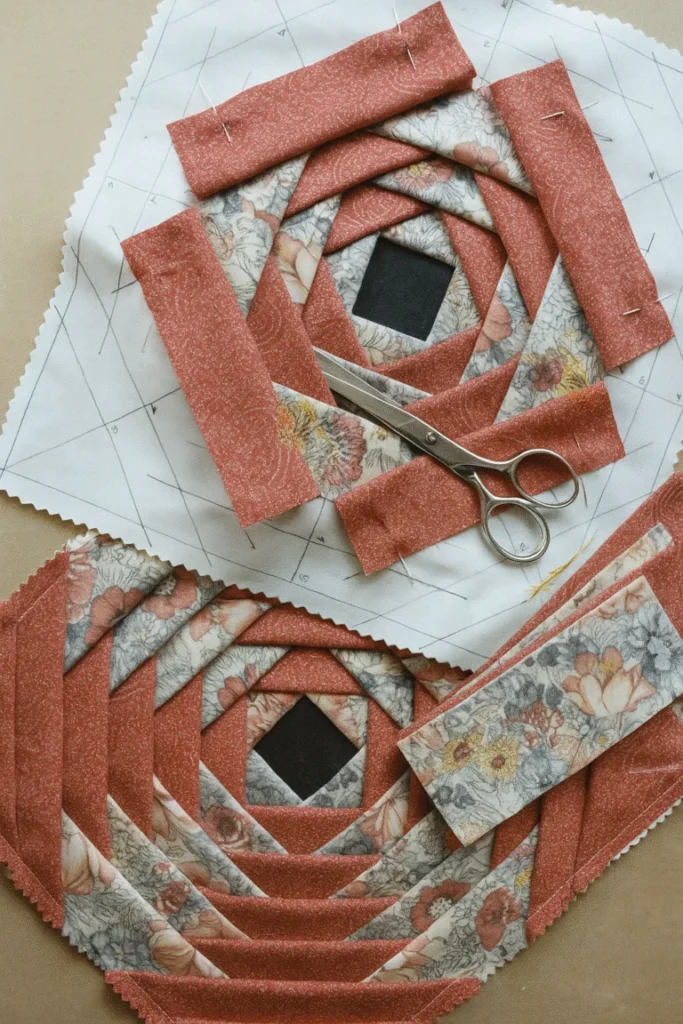
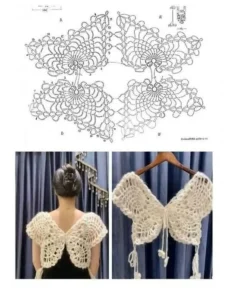
The Best and Most Practical Pineapple Block Pattern

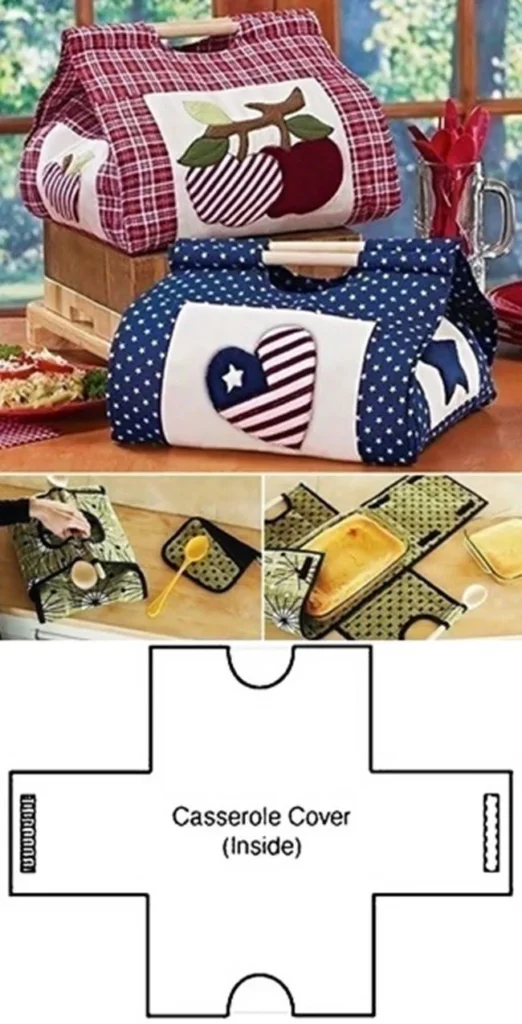
How to Make a Baking Tray Carrier for Transport is a practical and creative solution for anyone who loves baking and often needs to move their dishes safely from one place to another. Whether you are bringing brownies to a family gathering, transporting lasagna to a potluck dinner, or delivering homemade treats to friends, having a reliable carrier helps keep your baking tray stable and protected.
Many people struggle with transporting hot or delicate dishes without spilling, burning their hands, or damaging the presentation. Learning how to make a baking tray carrier for transport can solve these problems while also adding a personal touch to your kitchen tools. Instead of buying expensive carriers, you can create one yourself using simple materials and a bit of creativity.
Another great benefit is customization. When you understand how to make a baking tray carrier for transport, you can design it to match your kitchen style, choose durable fabrics, and ensure it fits the exact size of your favorite baking tray. In this article, you will learn the full process, materials, tips, and techniques needed to create a practical and beautiful carrier.
Before starting the project, it is important to understand why learning how to make a baking tray carrier for transport can be so useful. A baking tray carrier is designed to hold a tray securely while allowing you to carry it safely, especially when the dish is hot or fragile.
One of the main purposes of a baking tray carrier is protection. When transporting food, trays can slide, tilt, or lose heat quickly. A well-made carrier keeps the tray steady and helps maintain the temperature of the food for a longer period.
Another advantage is comfort. Carrying a hot tray using only oven mitts can be difficult, especially when walking longer distances. A carrier with strong handles distributes the weight evenly and makes transport much easier.
A baking tray carrier also helps with organization. If you regularly cook for gatherings, picnics, or church events, having a dedicated carrier ensures your dishes travel safely without needing to improvise each time.
Learning how to make a baking tray carrier for transport also encourages sustainable habits. Instead of buying disposable packaging or single-use containers, you can use your reusable carrier many times.
Finally, making your own carrier gives you control over quality. You can choose durable fabrics, reinforced stitching, and insulated layers that improve performance and longevity.
To successfully learn how to make a baking tray carrier for transport, you need to gather a few simple materials. Most of them are affordable and easy to find in sewing or craft stores.
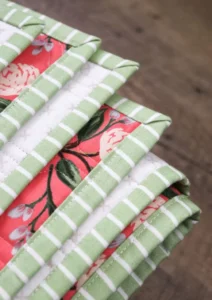
The most important material is fabric. Choose a strong cotton fabric for the exterior because it is durable and easy to sew. For the inner layer, heat-resistant fabric or insulated batting is recommended to help maintain temperature.
You will also need lining fabric. This protects the baking tray and creates a smooth interior surface. Neutral cotton fabric works well and keeps the carrier easy to clean.
Another important item is sturdy webbing or thick fabric strips for the handles. These handles must support the weight of a filled baking tray, so durability is essential.
Basic sewing supplies are also necessary. This includes scissors, pins, a measuring tape, thread, and either a sewing machine or a needle for hand stitching.
Finally, optional materials like Velcro, snaps, or fabric ties can help secure the carrier when it is closed. These additions improve the stability of the tray during transport.
Now that the materials are ready, it is time to begin the process of how to make a baking tray carrier for transport step by step.
Start by measuring your baking tray. Add several inches to each side so the fabric can wrap around the tray comfortably. Accurate measurements ensure the carrier fits perfectly.
Next, cut two large squares of exterior fabric and two matching squares of lining fabric. If you are using insulated batting, cut it to the same size as the fabric pieces.
Layer the materials together with the exterior fabric facing down, then the batting, and finally the lining fabric facing up. Pin the layers together to prevent shifting while sewing.
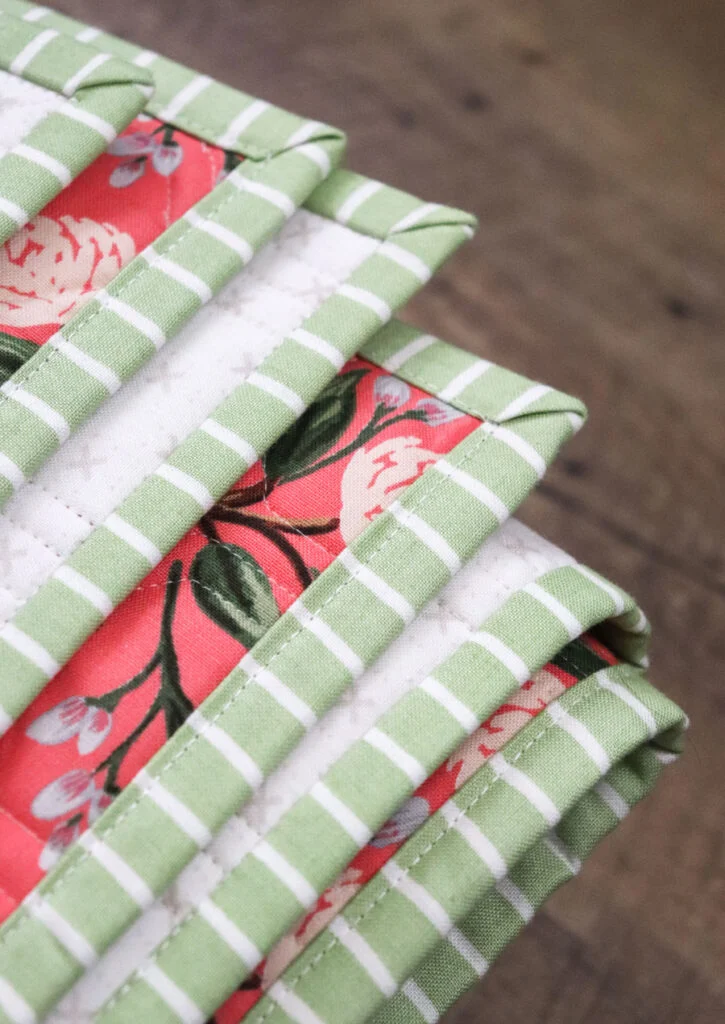
Sew along the edges of the square to secure all layers. You may also quilt diagonal lines across the square to add strength and keep the batting in place.
After that, attach the handles. Place the webbing or fabric strips across the center of the square so they form lifting straps. Reinforce the stitching where the handles attach to support heavy trays.
Finally, fold the corners of the square upward toward the center and attach Velcro, snaps, or ties. This creates a secure wrap that holds the tray firmly in place during transport.
Once you understand how to make a baking tray carrier for transport, you can enhance the design with a few useful improvements.
One helpful tip is using heat-resistant materials. If you frequently carry hot dishes directly from the oven, insulated batting or thermal lining will provide extra protection.
Reinforcing stress points is another important step. The areas where the handles attach should have multiple rows of stitching to prevent tearing over time.
You can also add pockets to the exterior of the carrier. These small pockets are perfect for storing recipe cards, utensils, or napkins when traveling with your dish.
Decorative stitching can make the carrier more attractive while also strengthening the fabric layers. Simple quilting patterns work well and add a handcrafted look.
Choosing washable fabrics is highly recommended. Since the carrier will be used around food, being able to clean it easily keeps it hygienic and fresh.
Finally, personalizing the design with colors, patterns, or embroidery makes the project even more enjoyable. A customized carrier can also become a thoughtful handmade gift.
1. What is a baking tray carrier used for?
A baking tray carrier is designed to help safely transport baking dishes while keeping them stable and protected during travel.
2. Can beginners learn how to make a baking tray carrier for transport?
Yes, this project is beginner-friendly. With basic sewing skills and simple materials, most people can complete it successfully.
3. What fabric is best for a baking tray carrier?
Durable cotton fabric combined with insulated batting is often the best choice because it provides both strength and heat protection.
4. How long does it take to make a baking tray carrier?
For most people, the project can be completed in one to two hours depending on sewing experience and design complexity.
5. Can the carrier hold hot trays directly from the oven?
If heat-resistant materials or insulated batting are used, the carrier can safely hold warm trays. However, it is still recommended to allow extremely hot trays to cool slightly.
6. Is it possible to wash the baking tray carrier?
Yes, if washable fabrics are used, the carrier can be cleaned in a washing machine or by hand when needed.
7. Can I adjust the size of the carrier?
Absolutely. One of the advantages of learning how to make a baking tray carrier for transport is that you can customize the size to fit any tray or baking dish.
Learning how to make a baking tray carrier for transport is a rewarding and practical project for anyone who enjoys baking and sharing food with others. Throughout this article, we explored the purpose of a baking tray carrier, the materials needed, a detailed step-by-step process, and helpful tips to improve durability and design.
By following these steps, you can create a functional and reusable carrier that protects your baking trays while making transportation easier and safer. In addition to its practicality, a handmade carrier also adds a personal touch and can be customized to match your style or kitchen décor.
Now that you understand how to make a baking tray carrier for transport, you can confidently start your own project and enjoy the benefits of a reliable and stylish baking accessory.
If you found this guide helpful, feel free to share your honest opinion and leave suggestions about the project. Your feedback and creative ideas can inspire even more improvements and variations for future baking enthusiasts.


