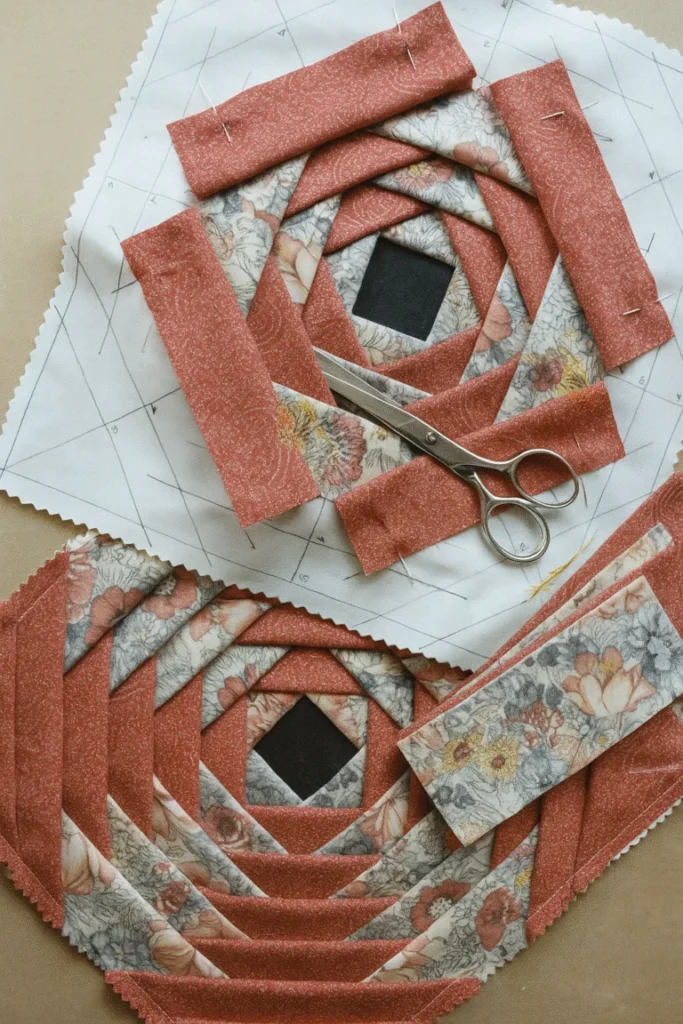
The Best and Most Practical Pineapple Block Pattern

Free Quilt Binding Tutorial is the perfect starting point for anyone who wants to give their quilt a polished, professional finish without spending extra money on classes or patterns. Whether you are a beginner just completing your first quilt top or an experienced quilter looking to refine your finishing techniques, understanding how to bind a quilt properly is essential. Quilt binding not only frames your work beautifully but also protects the edges from wear and tear over time.
When you search for a reliable Free Quilt Binding Tutorial, you want something clear, practical, and easy to follow. Binding can feel intimidating at first, especially when you hear terms like mitered corners or bias strips. However, once you break the process into manageable steps, you’ll realize that quilt binding is simply a sequence of careful folds, stitches, and alignment. With the right guidance, anyone can master this technique.
In this detailed Free Quilt Binding Tutorial, you will learn everything from choosing the right fabric to sewing crisp corners and securing the final stitches. The goal is to help you build confidence and develop a consistent method that works for your quilting style. By the end of this guide, you will understand not only how to bind a quilt, but why each step matters in achieving a durable and beautiful result.
Before diving into the sewing process, it’s important to understand what quilt binding actually is. Quilt binding is the fabric strip that wraps around the raw edges of a finished quilt sandwich. It secures the quilt top, batting, and backing together while adding a decorative frame. In any comprehensive Free Quilt Binding Tutorial, this foundational knowledge sets the stage for success.
There are different types of binding methods, but the most common is double-fold binding. Double-fold binding is durable and ideal for quilts that will be washed and used frequently. It involves folding the strip in half lengthwise before attaching it to the quilt. This creates two layers of fabric along the edge, increasing strength and longevity.
Another option is single-fold binding, which uses one layer of fabric folded over the quilt edge. While it uses less fabric, it may not be as durable for everyday quilts. In this Free Quilt Binding Tutorial, we focus primarily on double-fold binding because it offers the best combination of durability and clean appearance.
The width of your binding strips also matters. Most quilters cut strips between 2.25 and 2.5 inches wide. The exact width depends on your seam allowance and personal preference. Consistency in cutting ensures an even finish around the entire quilt.
Grain direction is another key concept. Binding strips can be cut on the straight grain or on the bias. Straight-grain binding works well for quilts with straight edges. Bias binding, cut at a 45-degree angle, stretches more easily and is ideal for curved edges.
Understanding these fundamentals makes the rest of this Free Quilt Binding Tutorial much easier to follow. Once you grasp the purpose and structure of quilt binding, each practical step becomes more logical and less intimidating.
The first practical step in any Free Quilt Binding Tutorial is preparing your binding strips. Begin by calculating the perimeter of your quilt and adding extra length for corners and joining ends. This ensures you won’t run short of binding fabric during the process.
After cutting your strips, join them end-to-end using diagonal seams. Diagonal seams reduce bulk and distribute thickness evenly along the binding. Press the seams open to minimize added thickness and create a smoother finish.
Next, fold the entire strip in half lengthwise with wrong sides together and press carefully. This folded strip becomes your double-fold binding. Take your time pressing, as crisp folds will help guide your stitching and produce cleaner edges.
When attaching the binding, align the raw edges of the folded strip with the raw edge of the quilt top. Start sewing about 8 to 10 inches away from the end of the strip to leave room for joining later. Use a consistent quarter-inch seam allowance throughout.
As you approach each corner, stop sewing about a quarter inch before the edge. Backstitch and remove the quilt from the machine. Proper corner handling is essential in any Free Quilt Binding Tutorial, as it directly impacts the final appearance.
Fold the binding upward at a 45-degree angle, then fold it back down aligned with the next edge. This technique creates the foundation for neat mitered corners. Continue sewing down the next side, repeating the process at each corner.
Mitered corners are often the most satisfying part of a Free Quilt Binding Tutorial. They give quilts a crisp, professional look and help the binding lie flat. Although they may seem complex, the technique becomes intuitive with practice.
When you fold the binding upward at a 45-degree angle before turning it down, you are essentially creating a diagonal fold that will later form the miter. Precision in this fold ensures a sharp corner when finished.
After sewing all sides and returning to your starting point, it’s time to join the binding ends. Lay the loose ends flat along the quilt edge and mark where they overlap. Trim and sew them together using a diagonal seam, just as you did when joining strips.
Once the ends are joined, finish sewing the remaining gap to secure the binding completely around the quilt. Press the binding away from the quilt top to prepare for the final folding stage.
Now fold the binding over to the back of the quilt, covering the stitching line. At each corner, fold one side over first, then the adjacent side to form a neat miter. Adjust carefully so the diagonal seam sits right at the corner point.
In this Free Quilt Binding Tutorial, patience during corner folding makes all the difference. Smooth the fabric gently and secure it with clips or pins before stitching it down by hand or machine.
The final step in this Free Quilt Binding Tutorial involves securing the binding to the back of the quilt. Many quilters prefer hand stitching for an invisible finish. Hand stitching allows precise control and creates a nearly seamless appearance from the front.
To hand stitch, use a needle and matching thread. Catch a small portion of the quilt backing and then stitch into the folded edge of the binding. Keep stitches small and evenly spaced for durability and aesthetics.
If you prefer machine stitching, you can stitch in the ditch from the front side of the quilt. This technique follows the seam line between the quilt top and binding. It requires careful alignment to ensure the back edge is caught evenly.
Pressing the finished binding lightly helps set the stitches and smooth any minor wrinkles. Avoid excessive heat, especially if your quilt includes delicate fabrics or batting.
Inspect the entire perimeter of your quilt for loose threads or uneven stitching. A thorough final check ensures your hard work will last for years of use and washing.
With consistent practice, the finishing stage of this Free Quilt Binding Tutorial becomes quicker and more natural. Over time, you will develop your own rhythm and preferences while maintaining high-quality results.
What is the best width for binding strips in a Free Quilt Binding Tutorial?
Most quilters use strips that are 2.25 to 2.5 inches wide for double-fold binding. This range provides enough fabric to cover the quilt edge securely while maintaining a balanced appearance.
Should I use straight-grain or bias binding?
Straight-grain binding works well for quilts with straight edges and is easier to cut. Bias binding is more flexible and better suited for curved edges or scalloped borders.
Is hand stitching better than machine stitching for binding?
Hand stitching often results in a more invisible finish and is preferred for heirloom quilts. Machine stitching is faster and durable, making it a practical choice for everyday quilts.
How do I calculate how much binding I need?
Measure the perimeter of your quilt by adding all four sides. Add at least 10 to 15 extra inches to account for corners and joining the ends.
Why are my corners bulky?
Bulky corners may result from wide seam allowances or improper folding. Trimming excess fabric and pressing carefully can significantly reduce thickness.
Can beginners follow a Free Quilt Binding Tutorial successfully?
Yes, beginners can absolutely succeed by following step-by-step instructions, taking their time, and practicing on smaller projects before binding large quilts.
In this comprehensive Free Quilt Binding Tutorial, you learned the essential steps to create durable, polished quilt edges. We explored the basics of quilt binding, including double-fold techniques, proper strip preparation, and the importance of grain direction. You discovered how to attach binding with consistent seam allowances, create sharp mitered corners, and finish the edges with either hand or machine stitching.
By understanding each stage of the process and practicing patiently, you can transform the edges of your quilt into a professional-looking frame that enhances the entire design. Binding is not just a functional step; it is the final detail that completes your quilting journey.
If you found this Free Quilt Binding Tutorial helpful, please leave your honest opinion and share any suggestions you may have. Your feedback is valuable and helps improve future quilting guides. Happy quilting!

