The Best and Most Practical Pineapple Block Pattern

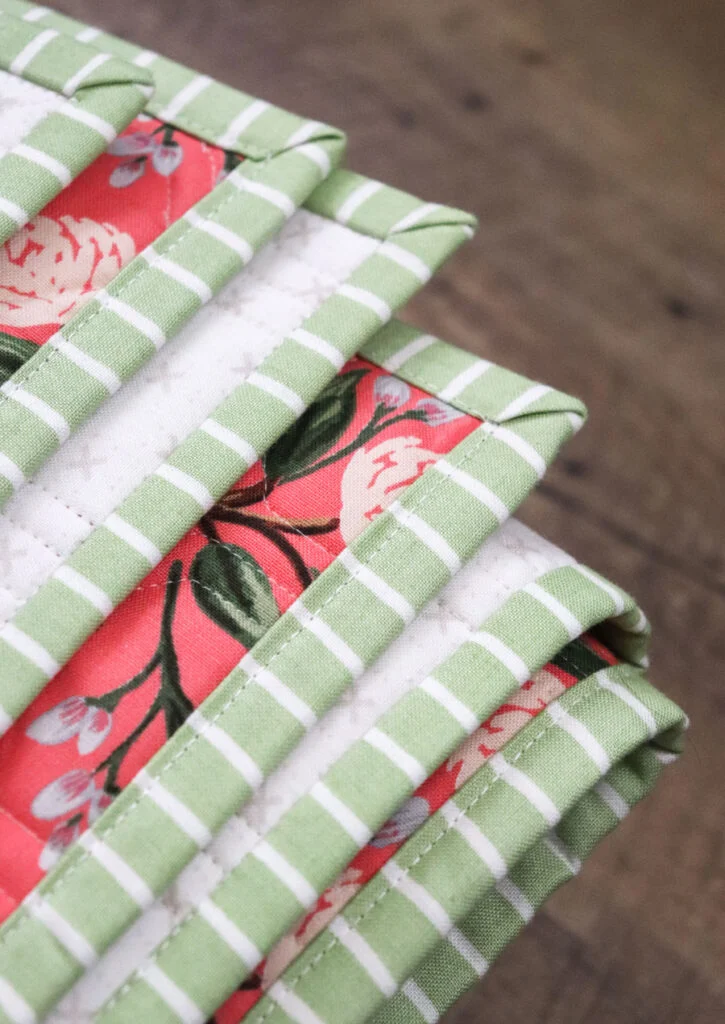
The Twister Block Tutorial is one of the most fascinating techniques in modern quilting, combining precision, creativity, and visual impact in a single project. From beginners to experienced quilters, many crafters are drawn to this method because it transforms simple fabric squares into dynamic, eye-catching quilt blocks.
Learning a Twister Block Tutorial allows quilters to explore motion and flow in fabric design. Unlike traditional blocks that rely on straight seams and predictable layouts, the twister block introduces curves and rotation, creating a sense of movement that instantly elevates any quilt project.
In this detailed Twister Block Tutorial, you will discover what the twister block is, how it works, why it is so popular, and how you can master it step by step. This guide is designed to be clear, practical, and inspiring, helping you feel confident as you apply this technique to your own quilting creations.
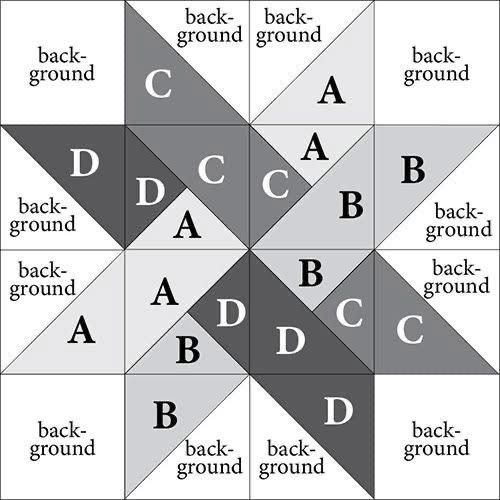
The Twister Block Tutorial begins with understanding what a twister block actually is. A twister block is a quilt block created by cutting a traditional block into curved sections and rearranging them to form a spinning or swirling effect.
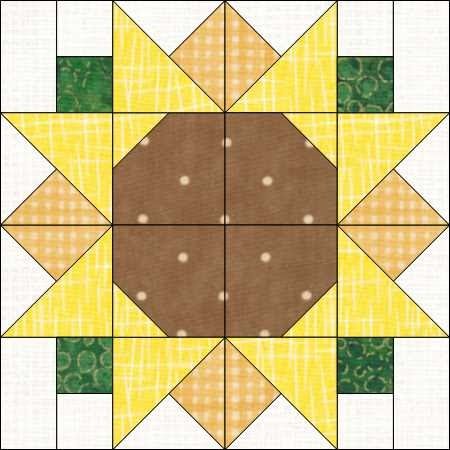
One reason the Twister Block Tutorial stands out is its ability to turn simple fabrics into complex-looking designs. Even with basic color choices, the final result appears intricate and professionally crafted.
Another important aspect of the Twister Block Tutorial is that it works well with many quilt styles. Whether you prefer modern quilts, traditional patterns, or playful designs, the twister block adapts beautifully.
The twister block also helps quilters learn valuable skills such as precision cutting and alignment. Following a Twister Block Tutorial improves accuracy and builds confidence for more advanced quilting techniques.
Many quilters appreciate that the Twister Block Tutorial does not require advanced math or complicated templates. With careful cutting and attention to detail, anyone can achieve stunning results.
Finally, the twister block is visually engaging. The swirling motion naturally draws the eye, making it an excellent choice for quilts intended as gifts or statement pieces.
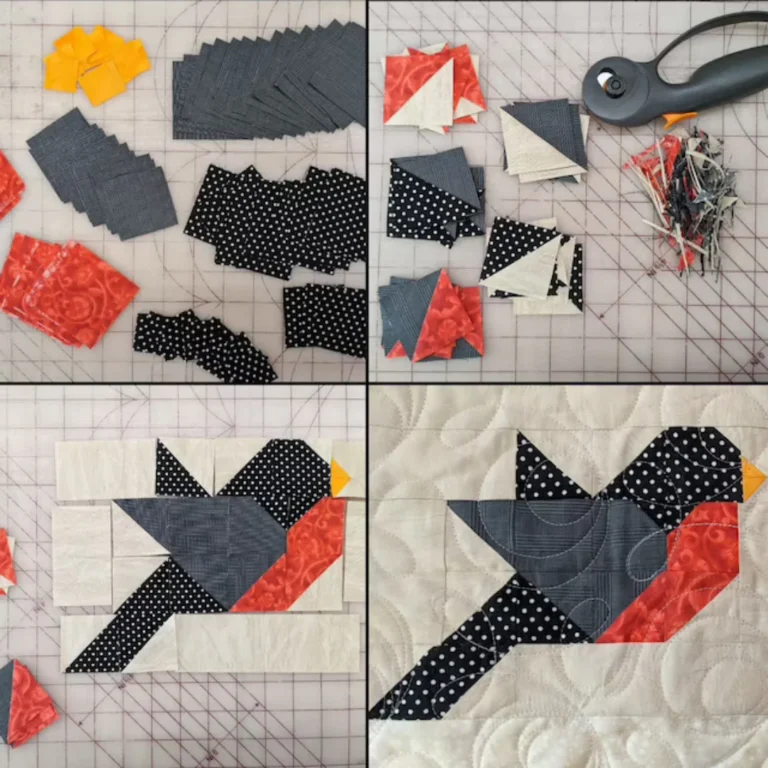
Before starting a Twister Block Tutorial, proper preparation is essential. Having the right materials ensures smoother progress and more accurate results.
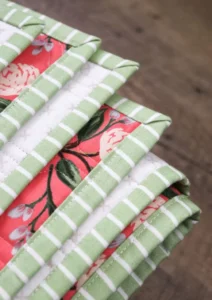
Fabric selection plays a key role in any Twister Block Tutorial. High-contrast fabrics make the swirling effect more visible, while subtle color variations create a softer, elegant look.
Accurate cutting tools are another necessity. A rotary cutter, cutting mat, and clear ruler are fundamental for following a Twister Block Tutorial successfully.
Consistent seam allowance is crucial in this technique. When working through a Twister Block Tutorial, even small inconsistencies can affect how the curved pieces fit together.
Pressing techniques also matter. Proper pressing helps maintain clean edges and improves alignment throughout the Twister Block Tutorial process.
It is also recommended to label or organize pieces after cutting. This simple habit prevents confusion and saves time when assembling the twister block.
Lastly, patience is an underrated material. Taking your time during a Twister Block Tutorial leads to better results and a more enjoyable quilting experience.
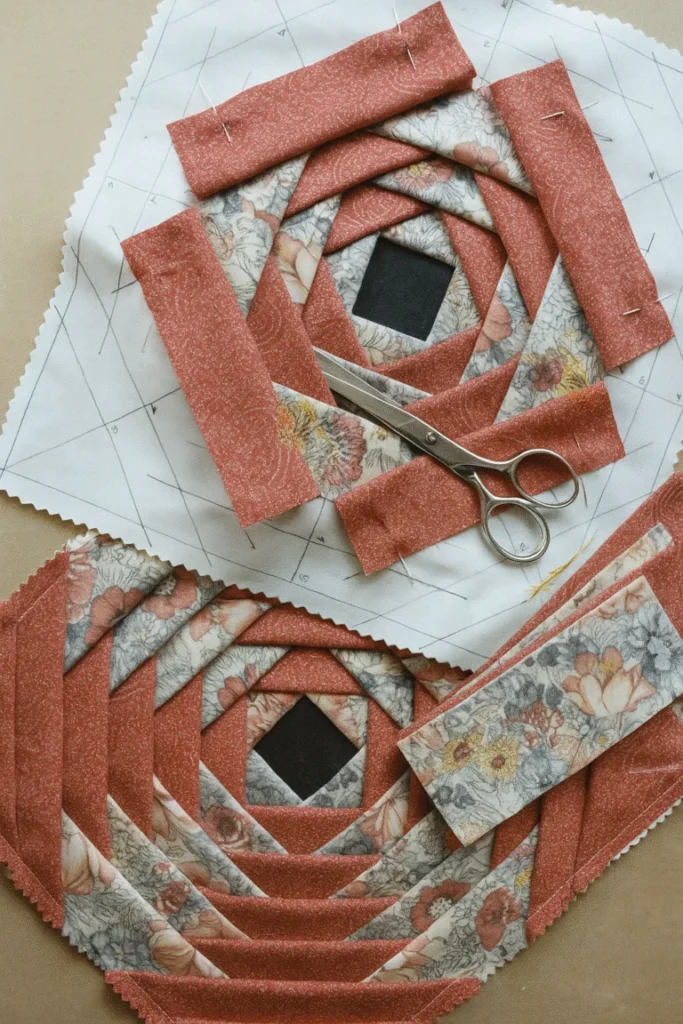
A well-structured Twister Block Tutorial typically starts with assembling a basic quilt block. This foundation serves as the base for the twisting transformation.
Once the base block is complete, the Twister Block Tutorial moves on to the cutting stage. Curved cuts are made carefully to divide the block into sections that will later be rearranged.
Precision is especially important at this step. Following a Twister Block Tutorial closely ensures that the curves align correctly during reassembly.
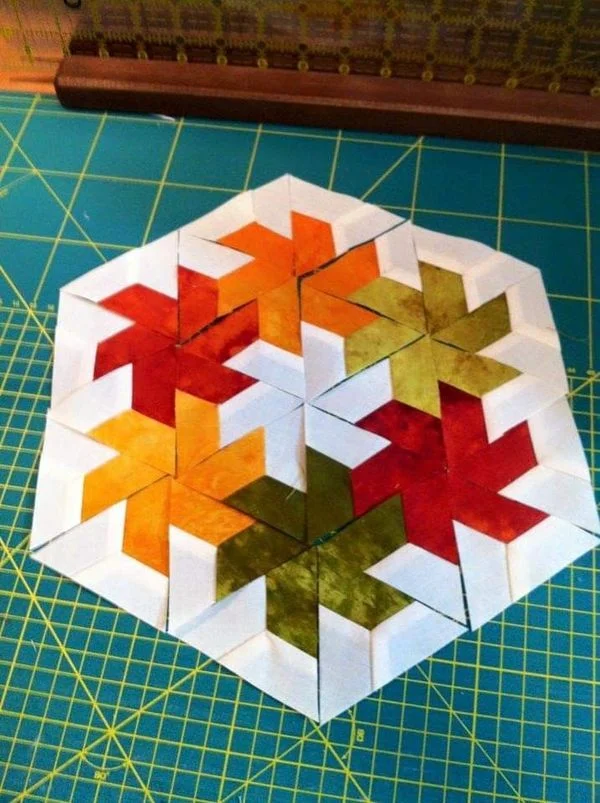
After cutting, the rearrangement phase begins. The pieces are rotated and repositioned according to the Twister Block Tutorial, creating the signature swirling pattern.
Sewing the curved seams may feel challenging at first. However, with guidance from a detailed Twister Block Tutorial, this step becomes manageable and rewarding.
Finally, the block is pressed and squared. Completing this step properly ensures that the twister block fits seamlessly into the overall quilt layout.
Even with a clear Twister Block Tutorial, mistakes can happen, especially for beginners. Understanding common issues helps prevent frustration.
One frequent mistake is rushing through the cutting stage. A successful Twister Block Tutorial requires slow, controlled cuts to maintain accuracy.
Another issue is uneven seam allowance. Inconsistent seams can distort the curves, making it harder to assemble the block as intended in the Twister Block Tutorial.
Skipping pressing steps is also problematic. Proper pressing is emphasized in every reliable Twister Block Tutorial for a reason—it improves alignment and appearance.
Fabric stretching can occur when sewing curves. A good Twister Block Tutorial recommends gentle handling and minimal pulling during stitching.
Choosing fabrics with similar colors can reduce the visual impact of the twister effect. High contrast enhances the results taught in a Twister Block Tutorial.
Lastly, practice is key. Repeating the steps of a Twister Block Tutorial builds muscle memory and leads to cleaner, more confident results.
What is the main purpose of a Twister Block Tutorial?
A Twister Block Tutorial teaches quilters how to create a dynamic, swirling quilt block using curved cuts and rearranged pieces.
Is a Twister Block Tutorial suitable for beginners?
Yes, a well-explained Twister Block Tutorial is accessible to beginners who are comfortable with basic cutting and sewing techniques.
Do I need special tools for a Twister Block Tutorial?
While no specialized tools are required, accurate cutting tools greatly improve results in a Twister Block Tutorial.
Why does my twister block look uneven?
Uneven cutting or inconsistent seam allowance can affect the outcome. Reviewing each step of the Twister Block Tutorial helps correct this.
Can I use any fabric in a Twister Block Tutorial?
Most quilting cottons work well, but fabric contrast is important to highlight the twisting effect explained in the Twister Block Tutorial.
How can I improve my curved sewing skills?
Practicing slowly and following the sewing tips in a Twister Block Tutorial will significantly improve curved seam accuracy.
This Twister Block Tutorial has shown how a simple quilt block can be transformed into a striking design through thoughtful cutting, rearranging, and sewing. By understanding the concept, preparing the right materials, and following each step carefully, you can confidently create beautiful twister blocks.
The techniques covered in this Twister Block Tutorial not only enhance your quilting skills but also open doors to more creative and modern quilt designs. With practice and patience, the twister block becomes an enjoyable and rewarding technique.
Now it’s your turn. Try this Twister Block Tutorial, experiment with colors and layouts, and see how the design comes to life. Leave your honest opinion, share your experience, and feel free to suggest ideas or improvements for future projects.


